The Prisoner of Azkaban Clock

Time travel plays a critical role in the climax of Harry Potter and the Prisoner of Azkaban, so Alfonso Cuarón decided to have some fun with elaborate shots that literally move right through a giant clock. Only one problem – the Hogwarts we’d seen in the first two films didn’t have any noteworthy clocks. So production designer Stuart Craig and his team created a new wing of the castle that comprised a crumbling courtyard, a rickety wooden bridge leading toward a new location for Hagrid’s hut, a new hospital wing, and…yes, an enormous clock tower.

These areas were realized as part of the main 1:24 scale Hogwarts miniature, as larger bespoke miniatures, and as partial physical sets. All of these were combined with visual effects to heavily feature this new area of the castle throughout the film, which is probably why this was the only film that really stood out to me in theaters as having redesigned parts of Hogwarts.

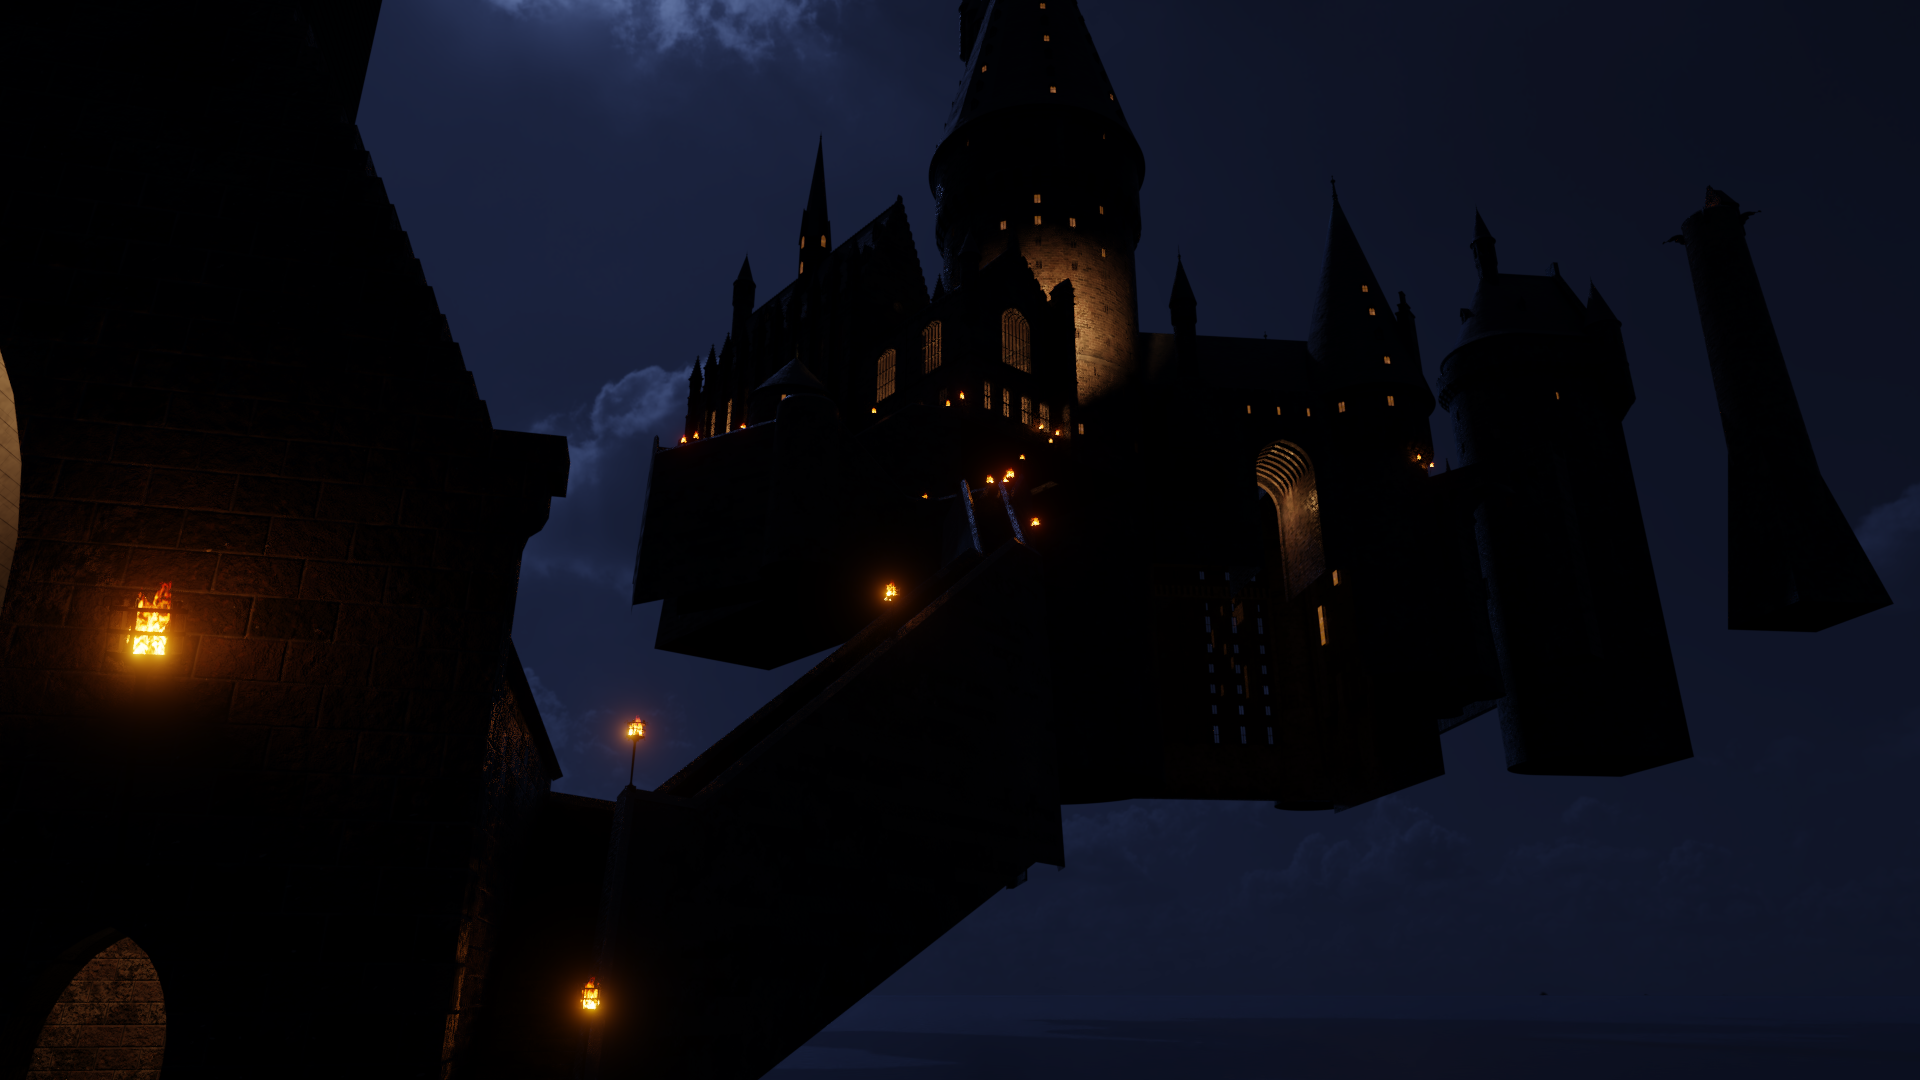
When we last saw the clock tower in my model, it looked a little something like this:

(Render from this post.)

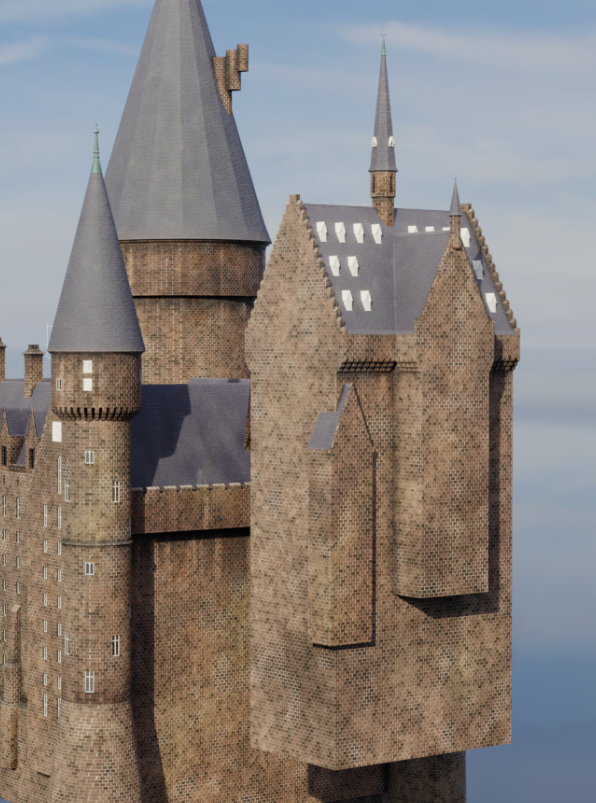
Not exactly the most detailed model in the world. I’m not really sure why I stopped working on it, but no matter. It’s about time I finished it up. (Get it? About time?)

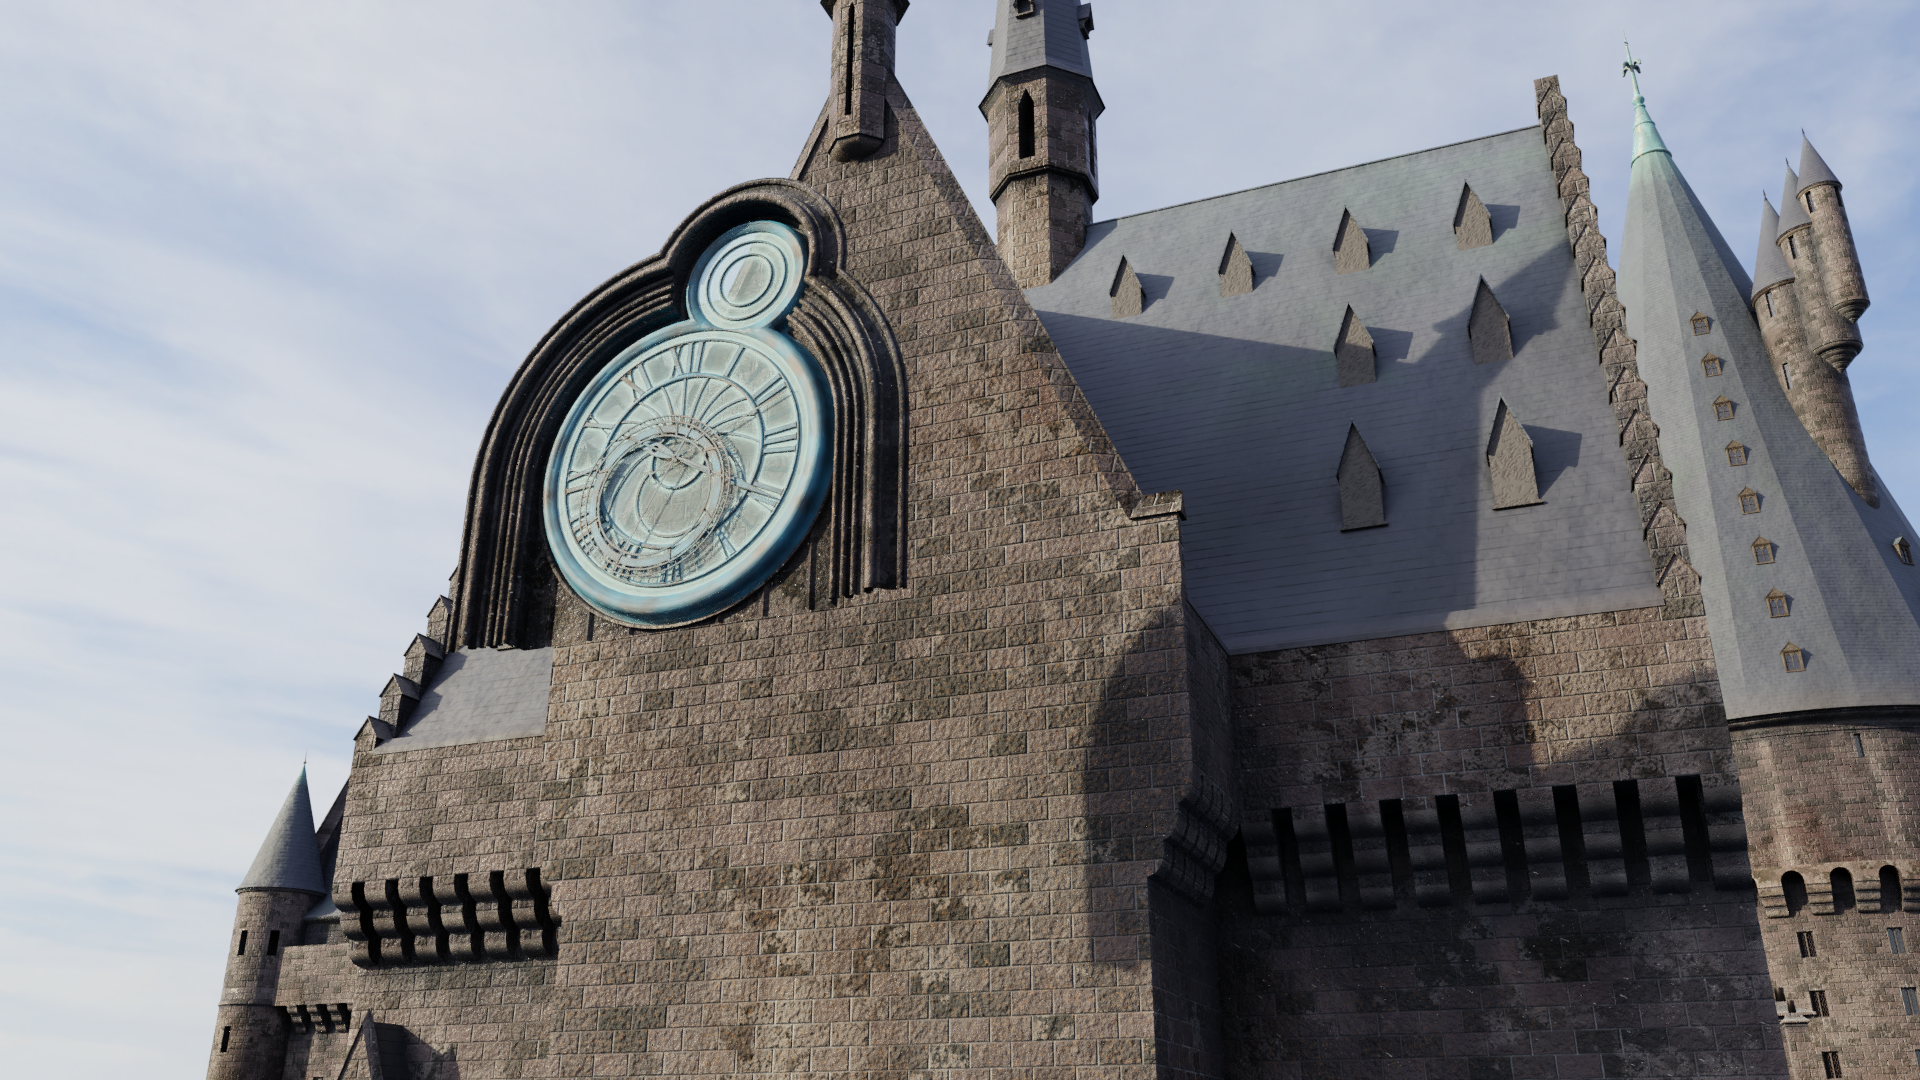
Anyway, for today we focus on…well, how we got to this:

That’s right, today we’re covering the clock face itself. This is the part for which I have the most detailed technical drawings, thanks to various photographers who’ve documented their adventures at the Warner Bros. Studio Tour.

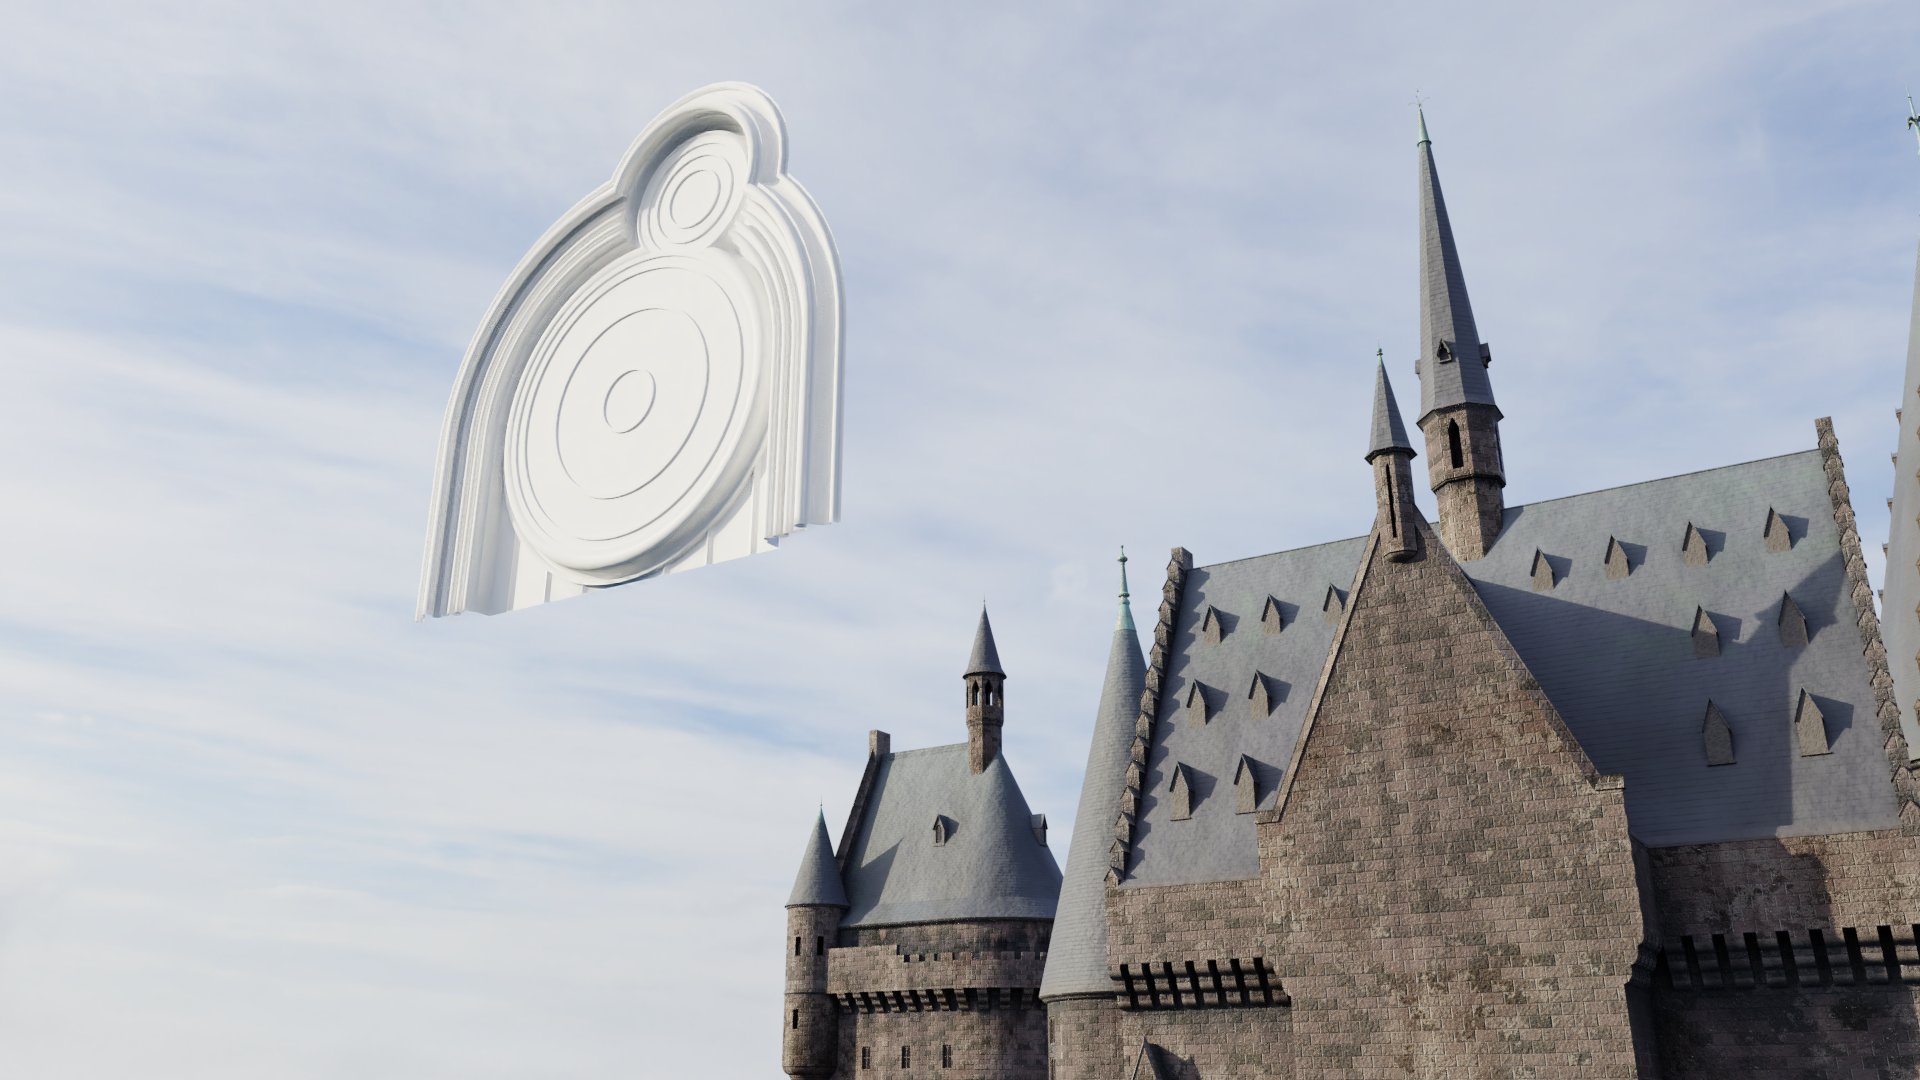
The clock actually has two faces, forming a pair of intersecting circular patterns. I started by building each one independently, not worrying about the intersections or textures:

The clock face is separate from the tower for now; it will later be moved into position.

Then came the hardest part by far: cutting out the intersecting areas of the moulding around the circles. I’m not aware of a particularly quick or easy way to do this in Blender, but the TinyCAD add-on did remove some of the hassle. Still, I had to step away from the mess repeatedly. Here’s what it looked like during the process.

Eventually it all worked out, with fairly minimal “cheating” of the geometry. I went to bed haunted by visions of intersecting circles. (Not even kidding!) But it was gratifying to see the results:

I next decided it was time to add some textures – not so much because I cared what it looked like at this juncture, but because the different textures would help me visually distinguish between different components as I worked:

The clock face moves a little closer to the tower, in part to help me gauge the transparency of the glass material.

I wasn’t too sure how detailed I wanted to get when I first started the clock, but as I went, I became interested in greater and greater levels of detail. Soon, the complicated hands on the main face came together. (I stuck with the same time the clock shows in the beautiful transition to winter in the film, though I’m having some trouble figuring out exactly which hand is which…) EDIT: Just learned that this is an astronomical clock, and the extra elements aren’t just decorative! I think the smaller dial is for seconds, but they also had the minute hand move like a second hand in the film, probably to make the passage of time more visible. This also means I slightly fudged a few of the details…but oh well.

It’s worth mentioning that when it comes to the clock, the two differently-scaled miniatures and the full-scale practical element do have slight differences between them. Generally speaking, I’ve skewed toward the specific details seen in the larger miniature and the full-size version, but the level of detail is closer to the main 1:24 scale miniature. In other words, it’s missing the smallest bolts and grooves…this model isn’t intended to be examined SUPER up-close.

That brings us to the complete clock we saw earlier in the post. In addition to completing both faces, I added some basic gears back behind there; they probably won’t be visible 99% of the time, but perhaps they’ll give some visual hint of the inner workings we see in the film.

I’m not quite satisfied with the copper material, so I may go back and make some improvements at some point. But for now, I think the next step will be to build all the other detail on the front facade of the clock tower. There’s a lot – easily enough to fill up the next post. Be sure to follow for more updates!

Hogwarts Gets Its Steps In

I had a change of heart – rather than working on the textures or finishing the Prisoner of Azkaban clock tower, I decided to bite the bullet and just do my best with the original boathouse steps. I don’t have enough photographic coverage to be able to measure things out via photogrammetry, so I decided to just follow the floor plan and estimate the rise/run of the stairs.

The first step was to lay out the steps and landings themselves. This came together pretty quickly:

To my relief, the scale ended up being fairly reasonable. The next step was tougher…I had to create the walls along both sides of the steps, and they posed some challenges in terms of angles and intersections and whatnot. Halfway through, I started getting pretty annoyed…

The two circular landings were particularly difficult. But I stayed the course and eventually finished the walls, topping them off with the necessary flambeaux or torches. (Note that these walls are intentionally much taller than what you’ll see in the final model – the terrain will cover most of the height in most spots. I just wanted to make sure I had plenty to work with.)

Whew…all done! Here are a few more views for you to enjoy, including a nighttime shot looking up from the boathouse. This would have been Harry’s view of the castle immediately after disembarking from the boats.

With the boathouse steps complete, I also threw in the crenellated walls around the Chamber of Reception walkway.

What’s next? I’m already assembling my reference materials for the clock tower and courtyard that were added in the third film. Lots of intricate details here, especially since so much of it was also built as a physical set. Should be fun to finally finish that area!

POA Model Progress: Link Building, Quad Building, & Stone Bridge

As promised, this post is a lot lighter on the technical details and a lot heavier on the images! Getting better reference images for the link building was a big win. (Again, that’s the tiny linkage between the Great Hall complex and the marble staircase tower.) I knew what it looked like after the third film, but the first three films had a different design for the link building and there are no good shots of it in the films. I had nearly given up on accurately reproducing it.

But now that’s all changed! Feast your eyes on the SS/COS/POA link building!

It’s the short wall toward the bottom right. Okay, so, not a big deal in the grand scheme of things, but hey, it’s nice to solve that mystery. (Now if only I could find a good shot of the adjacent wall of the Chamber of Reception…) I also discovered that the link building roof is in fact just the end of the Great Hall balcony. Check it out from above:

I never would have guessed! After the third film, the link building had its own separate roof and the Great Hall was lowered so the balcony wasn’t level with it.

The next step was to finally close off the front of the quad building, just to the right of the link building and the marble staircase tower. There’s always been this gaping hole right there in my model and it was a joy to simply add a wall there, let alone all the cool details on top of it. I also put the finial on top of the tower in the corner at long last; it had been sitting there all open-ended and weird-looking for almost a year!

I even added in the stone bridge, visible at the bottom right. For now, it doesn’t go anywhere, but it’ll ultimately become one of the three walking paths between the two halves of the castle. Here’s a closer shot:

I also did a nighttime render of the angle from before. This inspired me to do some more work on the castle’s nighttime lighting, deciding which windows would be lit based in part on screencaps from the films.

I couldn’t help myself – I had to position the camera down at the water level to mimic some of those first shots of the castle in Sorcerer’s Stone. Not gonna lie, I’m really digging this look.

Next steps? Haven’t decided just yet. I do still need to detail the clock tower and hospital wing, around the back side of the quad building…I also think I’m going to need to start doing a bit of manual texture painting on the castle to get the vertical streaking caused by rain and so forth over the years. Currently, the castle textures are 100% procedural – in other words, the software generates them by following complex rules I’ve set up – but that doesn’t seem to be cutting it with the vertical streaks. Fortunately, Blender allows us to mix and match, so I can keep the overall look procedural while just painting in the vertical streaks by hand. Maybe I’ll try that next.

The Boathouse Steps Aren’t THAT Stupid

Okay, after some massaging, I’ve gotten the photogrammetry meshes to line up a little better. This is always tricky because:

  1. The photogrammetry isn’t precise down to the millimeter – depending on the source images, the model can end up a little skewed.
  2. The technical drawings aren’t super precise either – for most areas, I don’t have detail drawings, only the overall floor plan.
  3. When lining up one photogrammetry mesh with another, you might need to adjust any or all of the following:
    • overall scale
    • x translation
    • y translation
    • z translation
    • x rotation
    • y rotation
    • z rotation

So, bottom line…these things aren’t as precise as one could wish, and you have to decide which which sources to trust, and that can vary from area to area.

Anyway, the adjusted photogrammetry confirms that different flights of the Half-Blood Prince boathouse steps (which are the same as in the previous two films) do indeed have different slopes, which is why my vertical dimensions weren’t working very well. In fact, to get everything to fit, I had to give almost every flight a slightly different slope. This seems awfully messy, but it also provides the best fit to the actual miniature.

That’s all being put on hold for now, though – I just discovered more reference photos that are helping me fill in areas that were otherwise difficult to reconstruct. In particular, I finally know what the original “link building” looks like! (That’s the small connection between the Great Hall/Chamber of Reception structure and the marble staircase tower; it changed to a different design after Azkaban.) So while I don’t have any renders to share for this post, I think the next one will cover the link building and the front of the quad building!

P.S. For the record, the boathouse steps themselves are actually a great design, beautifully executed in all three incarnations. I just get frustrated when I can’t get my sources of info to agree with each other, haha.

The Boathouse Steps Are Stupid

Ugh. I’ve indeed proceeded to the boathouse steps, and it turns out that they’re evil.

It all started out innocently enough. There are super detailed drawings available for the Deathly Hallows version, so I started there. I figured I’d work backward to the GOF/OOTP/HBP version, and then finally to the SS/COS/POA version. Above is the DH version in the process of being built, along with a newly wavy lake surface. Below is what they looked like when I was done:

Okay, so far, so good. It looks weird, but that’s just because they’re untextured, they don’t have any walls, and they don’t match up with the POA castle around it. The technical drawings were very explicit and internally consistent, so I felt very confident in this setup. Next up: the version from the middle three films! Should be easy, right? Just follow the floor plans, and then adjust the height to match the exact vertical distance between the boathouse floor and the viaduct courtyard floor, right?

Wrong.

It all went askew when I compared my steps to this angle of the HBP model at Warner Bros*:

See how the steps come right up to the bottom of the boathouse roof? Yeah…mine didn’t do that. They stopped noticeably lower. Something was off with the vertical scale. Presumably, some of the flights were supposed to be steeper than others. But it also occurred to me that my vertical measurements for the boathouse weren’t particularly precise either, so it was risky to try to get these disparate approximations to match up with each other.

No problem! Fortunately, this version of the castle has better photographic documentation than any other, since it’s open to the camera-wielding public. I was particularly enthused when I found this video – I knew Meshroom would like the camera motion, coverage, and image quality. So I fed a bunch of frames into the photogrammetry software and let it run. Actually, I let it run multiple times on different subsets of images – running everything all together resulted in some errors. Then I plopped all the different scans together into the same physical space:

Not exactly pretty, because this is a half-dozen scans with different lighting poking through each other haphazardly due to the limited precision of this method – plus lots of junk data floating around. (A lot of the stuff up top is the lighting fixtures from the Warner Bros. Studio Tour, haha.) Still, I figured this should provide some good reference, right?

Well…it turns out that the floor plans don’t quite match up with any of the scans. So that’s annoying. Again, it’s probably the result of the limited precision of this photogrammetry, but it makes it tough to trust this information.

And that’s really where I’m at right now…still trying to figure out the boathouse steps. I may end up needing to adjust the boathouse’s vertical scale, too. Oy…wish me luck.

* Apologies to the photographer for not giving credit. I’ve somehow lost wherever I found that image. If you recognize it as yours, please don’t hesitate to let me know!

Great Hall Balconies, Pepperpot, & Pre-DH Boathouse

Work continues on the Prisoner of Azkaban iteration of Hogwarts! I guess my return to the project might have legs.

(Forgive the exposed interior glow panels on the right again.)

With the Chamber of Reception complete, I moved on to the terraces or balconies surrounding the Great Hall, plus the foundations below. Good lord, the geometry of these corbels gave me a headache as I tried to reconcile a variety of imprecise measurements and calculations. I’m pretty happy with how they turned out, though. And I sure was thrilled when the spacings of the corbels and the torches lined up! I added the finishing touches to the pepperpot as well.

This also afforded the opportunity to check out some angles not seen in the films, such as this nighttime view looking toward the head of the Great Hall from the balcony outside:

Soon I was faced once again with that perennial question: what next? At first I considered doing the crenelations outside the Chamber of Reception and the steps down to the boathouse, but as I assembled reference images, I found myself drawn to the boathouse itself.

It’s a simple structure with a lot of good reference out there, since it never changed till the digital rebuild of the castle for Deathly Hallows (when it was completely redesigned), and visitors to the Warner Bros. Studio Tour can get quite close to that part of the model. As a result, it came together pretty quickly. Here it is in complete form:

I really like that last one. I wanted the boathouse to “pop” in front of the similarly-colored castle behind it, so I went with a shallow depth of field and ended up with this render that kinda looks like a miniature itself. You can even see the witch-and-black-cat weather vane at the top. And, as I mentioned last time, I finally got a decent stone floor texture going, though I’ll probably still tweak that some more.

Next up…the boathouse steps, I suppose? Speaking of which, it just occurred to me that the first-years have to climb the height of a 14-story building to get from the boathouse to the Great Hall for their Sorting. Between that and the nerves, it’s amazing they all manage to stay on their feet.

Chamber of Reception

For the first three Potter films, a large antechamber or entrance hall sat in front of the Great Hall. Its interior – the very first interior of Hogwarts seen on film – was shot on location at Christ Church Cathedral’s Great Staircase at Oxford. Stuart Craig and his team didn’t attempt to recreate the exterior of this structure in the visual effects miniature of Hogwarts, but the design they came up with does draw some details from that real-world location. Although this room is never explicitly named in the film, Harry’s prop acceptance letter instructs him to report to the “Chamber of Reception”, and the name (seen only briefly onscreen) seems to have stuck with the fan communities. The closest equivalent in the books is the entrance hall.

For Goblet of Fire, Hogwarts received a new courtyard and tower in front of the Great Hall, and the Chamber of Reception went the way of the dodo, never to return. In its place was an entrance hall with a smaller footprint and very different appearance. It’s a great look, but I’m very fond of the Chamber of Reception, due to my particular nostalgia for the first film. Fortunately, since I’m working on the Azkaban version of the castle, I get to include it in my model!

Getting the vertical dimensions of the Chamber of Reception required some use of photogrammetry and inference from known elevations of adjacent areas. Soon, I had a basic shape roughed in:

That chimney that protrudes from the corner on the right is a detail taken from the real thing at Oxford, by the way. Thanks, Google Maps:

The miniature also incorporates the exterior steps and the light fixture above the arch, even though there are no location shots of those in the film, leading me to believe that they at least considered shooting some stuff just outside this building at Oxford.

Anyway, I kept the same camera angle for the renders that followed. I began to block in the so-called pepperpot building on the left and added more details to Chamber of Reception:

The last round of details really brought it all together, completing the Chamber of Reception (other than some windows I may add to the far side). The tracery on the windows was tough, since reference for those is quite limited. I think what I came up with is pretty decent, even if it’s not 100% accurate. I also had to refer to the hammerbeam roof interior miniature from the first film for the rose window on the front of the Great Hall – I can’t find any closeup shots of the exterior, but there’s a corresponding rose window in the interior miniature.

I even included that real-world lamp above the arch, plus another Hogwarts-style sconce next it that’s visible on the effects miniature. They’re hard to see in the daylight, so…Nox!

There’s still more to be done here with the interior lighting, but I do like the way this is turning out. You’re actually seeing into the lit interior of the Chamber of Reception and Great Hall; most of the other windows in my model just have flat panels behind them that give off a splotchy orange glow for night shots, a cheat that’s very obvious in the exposed interiors seen to the right side of this render. But the Great Hall and Chamber of Reception have large windows into large spaces with known interior architecture, so I didn’t want to fake it with these.

I think I next need to add details to the pepperpot, and then either the link building or the terraces around the Great Hall. We’ll see what order I end up springing for. I’m also going to need to create a new texture for the paved horizontal surfaces like those terraces – so far I haven’t done anything like that.

We’re Back! …at Least for Now!

Well, it only took a pandemic to get me back into this project! After the better part of a year working on other stuff, I’ve reopened my Hogwarts 3D model and begun adding onto it again. I still have some other big projects I’m working on, so I don’t know how much further I’ll get or at what speed, but it’s nice to at least have an update!

The first order of business was to finish up the main window of the Great Hall. The exterior version of it, that is – in interior scenes, the top of the window has a pointed arch shape, whereas the miniatures (and, for Deathly Hallows, computer models) used for exterior shots had a rectangular shape. Here’s a render of the end product, using a familiar camera angle from last year:

Felt good to have that finally finished! Next I began the central spire above the Great Hall, as well as the dormer windows along the roof. That spire is notable because of how steep it is. The castle originally had a lot of short spires, most of which became much steeper in POA, but this one was steep like this from the beginning:

Just like olden times, I got to wrestle with different references (film frames, production photos, photos of the model from the Warner Bros. exhibit, technical drawings, photogrammetry from the films, etc.) and try to reconcile them all into consistent dimensions. This can be surprisingly difficult at times, although it got easier when I remembered that the Great Hall got widened after POA – that explained some of the biggest discrepancies.

With the addition of more detail, the Great Hall itself is now finished, more or less:

I say “more or less” because the other side of the Great Hall is where it interfaces with the chamber of reception/entrance hall, depending on your preferred verbiage. That side is currently a featureless wall:

The next steps will be to start adding the entrance hall, which will cover most of that blank wall. Then we can add some of the terraces around these structures and the small building that connects the Great Hall to the marble staircase tower next to it. More to come, I hope!

On a more serious note, if you’re reading this during the COVID-19 pandemic, I hope you and your loved ones are safe and well-isolated, as dictated by the severity of the situation in your area. These are crazy times and (he reminded himself) it is more important than ever to be forgiving and patient with each other – and ourselves. Sending lots of love!

The Great Hall and…Other Projects

Well, I admit that I’d planned for this post to be a bit more grandiose. But the reality is that my work on this whole project seems to be stalling (hopefully just temporarily) and I wanted to at least get the blog up to date in the meantime.

Without further ado, here’s a gallery showing my progress on the POA version of the Great Hall so far:

You can see how I gave some rough indication of the interior with its hammerbeam roof elements, since the interior will be visible in nighttime renders.

Sadly, that’s as far as I’ll probably get for a while. My brain tends to be quite fickle with its hobbies – I tend to move from one passion to the next, perhaps more often than I’d like. I posted recently about the Star Wars project I’ve been working on – that has been occupying all of my 3D modeling energies, and even that has been playing second fiddle to some music projects lately.

The model still sits patiently on my hard drive, though, with technical drawings all lined up and reference images ready to inform the next steps. It’ll just be a matter of seeing when my brain decides to revisit Hogwarts.

In the meantime…mischief managed!

Also Introducing…My 3D Star Wars Blog!

If you’ve been enjoying this blog so far, you might want to follow this new one I’ve started as well. Even as I track the changes to the design of Hogwarts, I’m also recreating the sets of the original Star Wars trilogy, including their real-world location within Elstree Studios.

If you’re not a Star Wars fan, don’t worry – the Hogwarts project isn’t dead. As promised, I’ve moved on to the Great Hall exterior. More on that coming soon, I hope. In the meantime, here’s a teaser…